Archives
You are currently viewing archive for July 2019
Posted By David

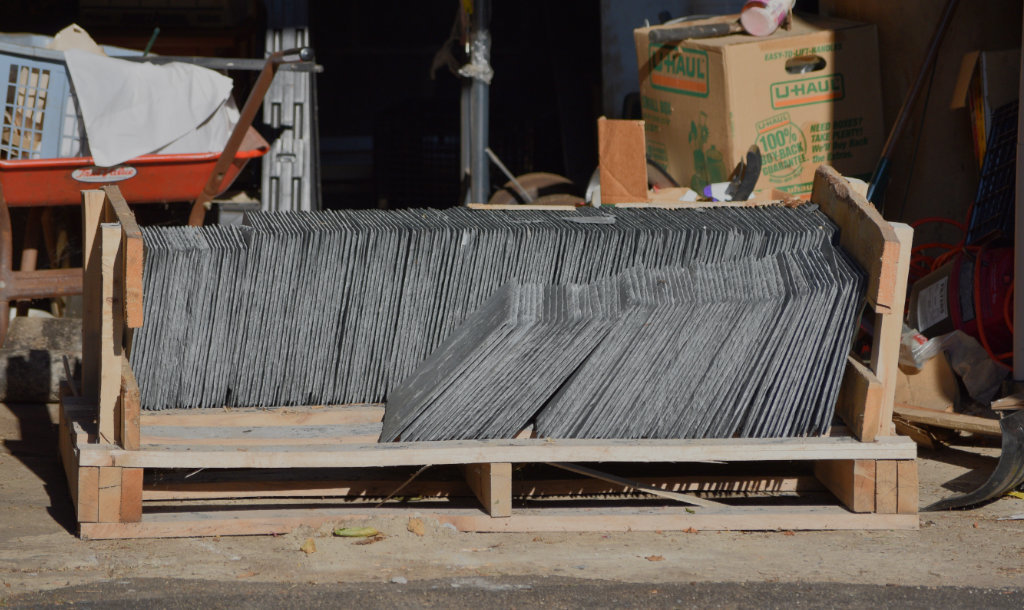
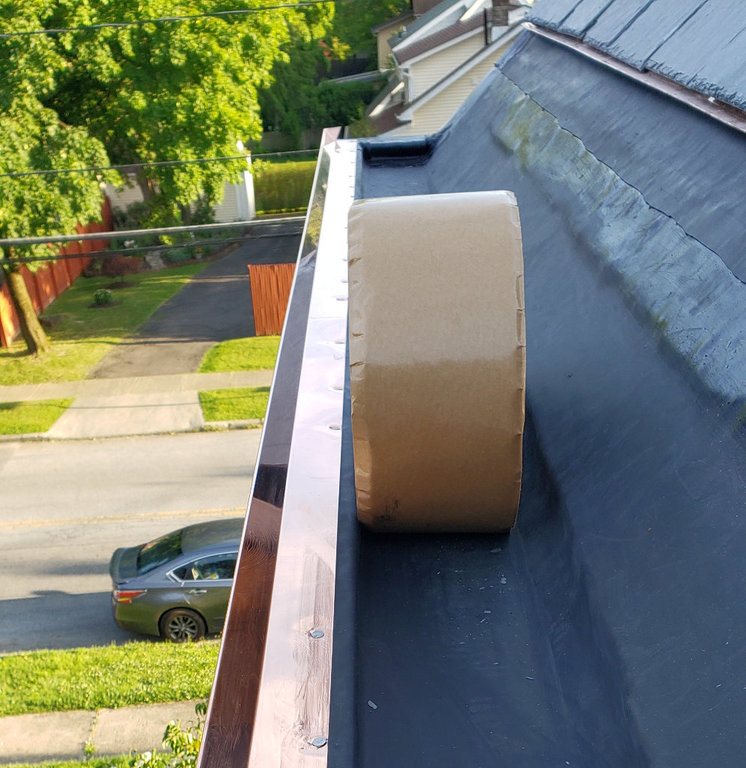
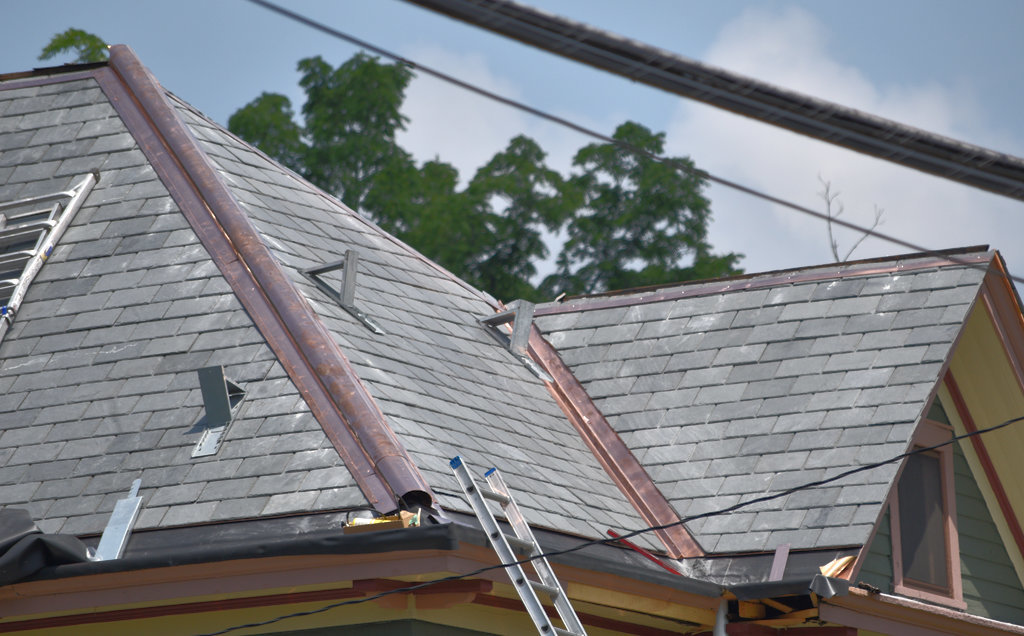
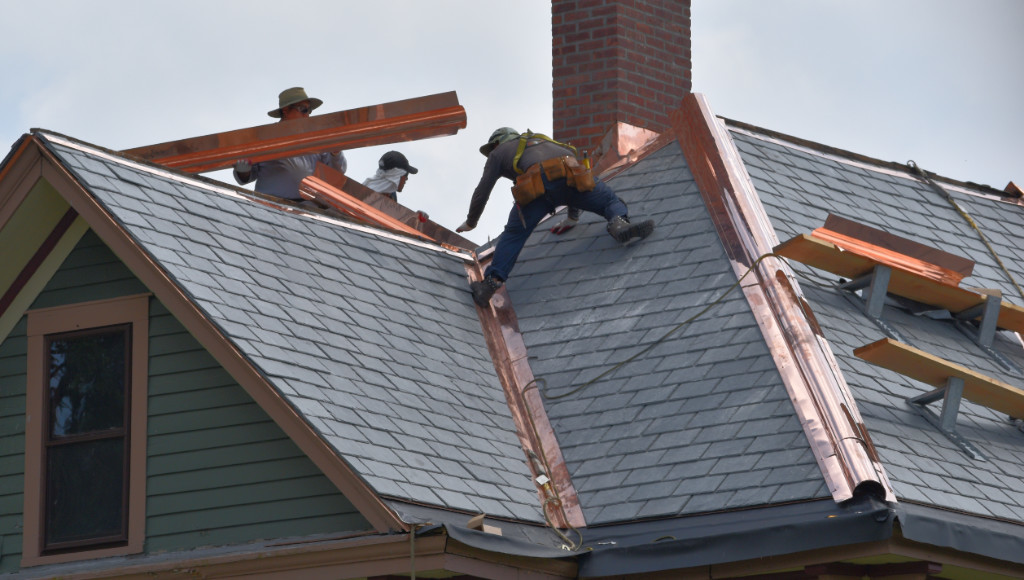
It took three days for the mill to make the missing piece of ridge roll.  The crew arrived in the early afternoon and worked into the early evening installing this piece and doing a final cleanup.  It took 17 days of work, interspersed with five days lost to rain, and a couple of Sundays when they didn't work -- 25 days altogether.  Aside from the weather, the job went smoothly and I am pleased with the result.  It is nice to have my driveway back at last!

Here's the leftover slate in my garage.  It's not likely that any repairs will be needed while I own the house, but I will leave it for future owners.

Leftover slate in garage.
 

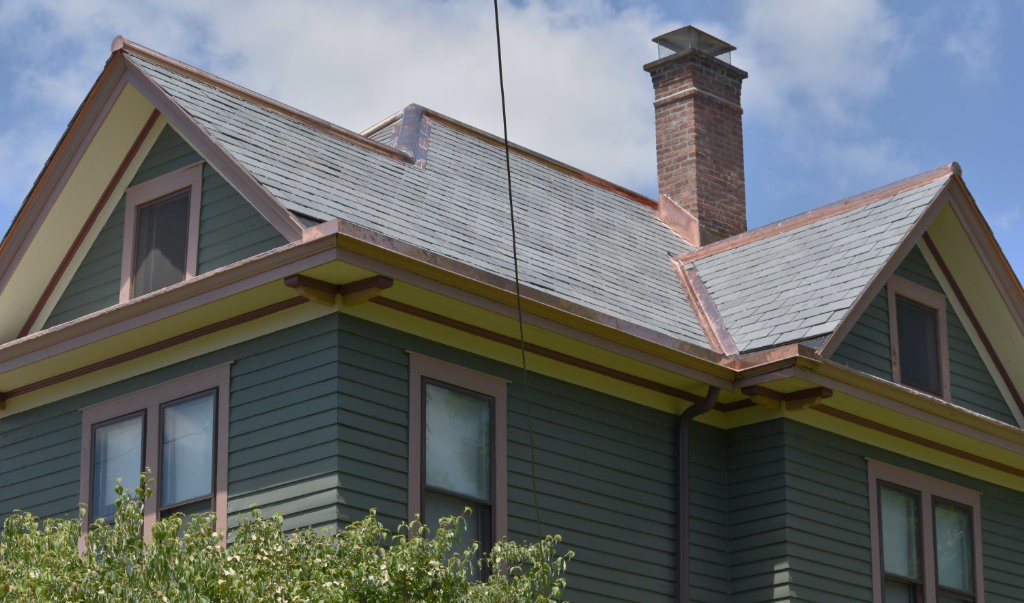
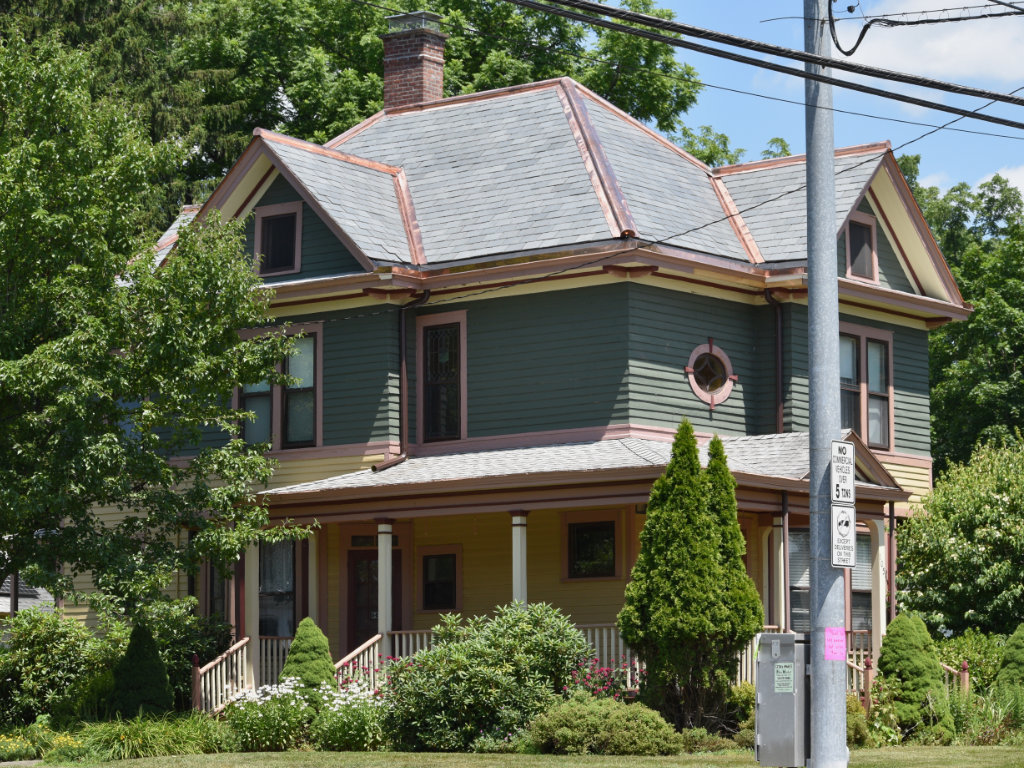
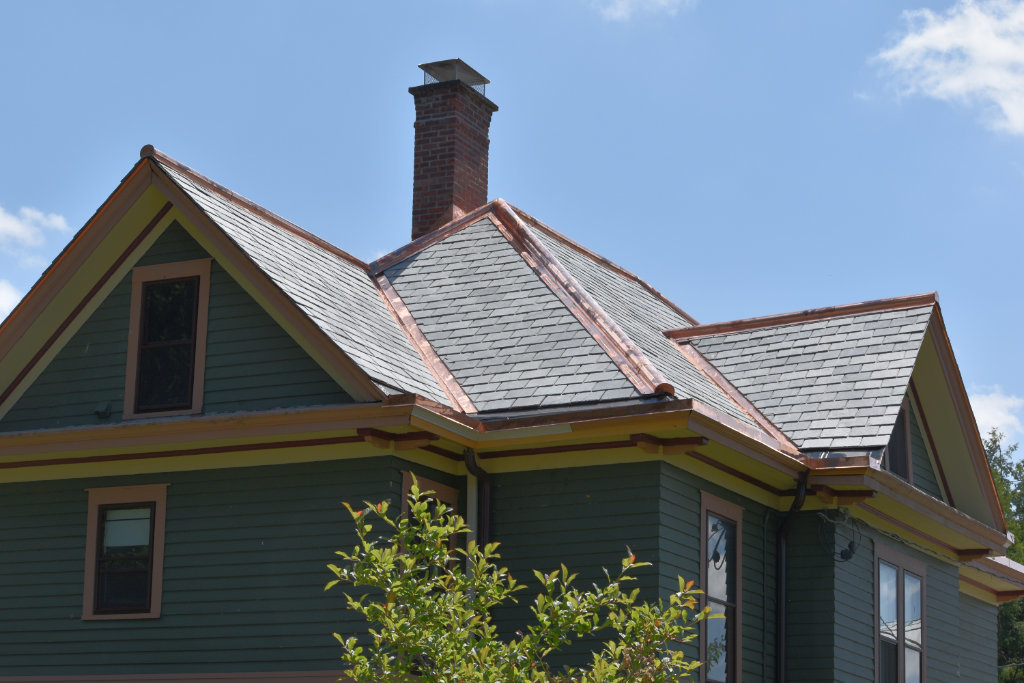
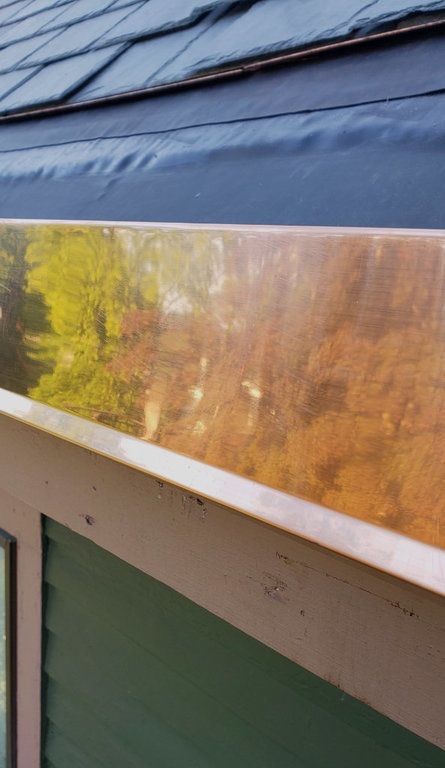
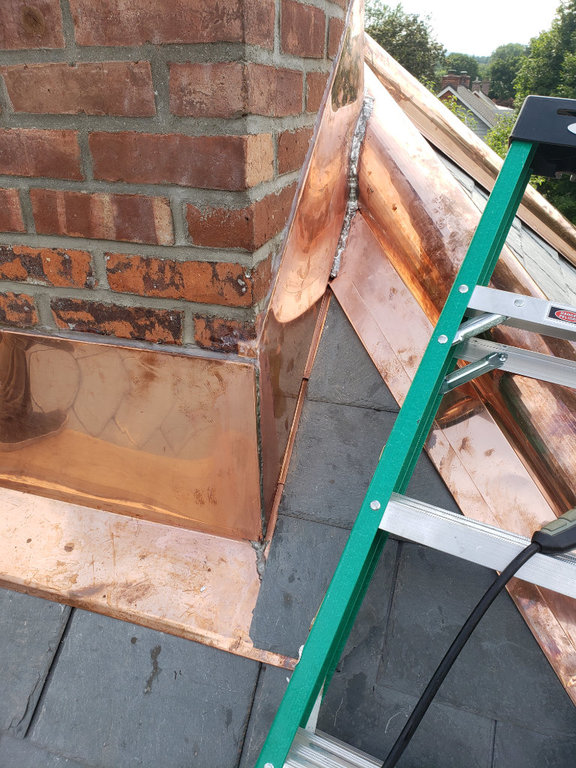
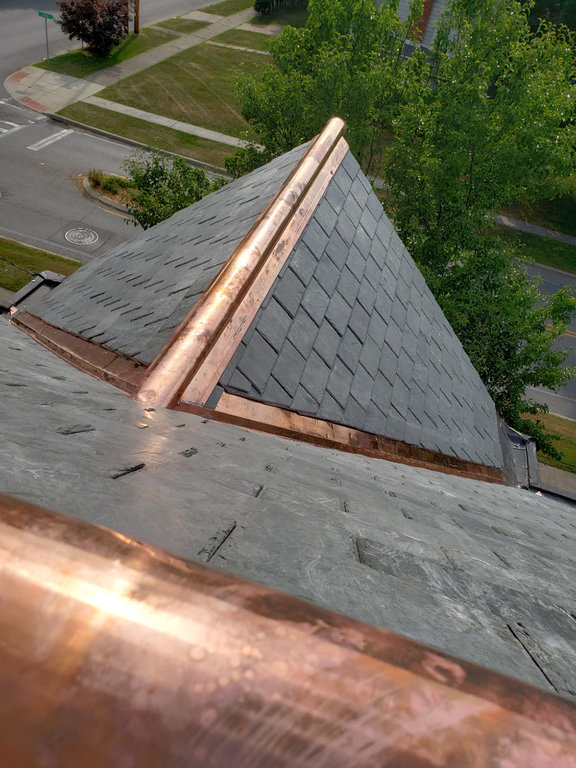
Here are some shots of the final result (zoom in for a closer look).  The east side:

East side all done.
The southwest from across the street:

Southwest corner from a distance.
The northwest corner:

Northwest corner.


Posted By David

Today's task was to finish the copper edging on the gutters and gable ends.  They had already built up the edge of the gutters by adding a 2 x 4, as shown in the post for Days 2 and 3.  One day a sudden rainstorm arrived while they were working, and the foreman noticed that water was spilling over the gutter edge in a couple of spots despite the addtional height.  He and my contractor came up with the idea of shaping the copper edging to add another inch or more of height, which will -- I very much hope -- finally keep the rain inside the gutter.  I want to commend them for taking this extra step, which some guys wouldn't have bothered to do since we had already agreed on the 2 x 4 solution.

Here you can see the complete gutter repairs, with the black EPDM membrane, the 2 x 4, and the raised outer edging.  (Sorry about the roll of tape!)

Inside of gutter.
 

The bottom of the copper edging is angled out and extends a little below the top of the crown molding.  This should prevent water from getting behind the molding as happened in several spots with the original gutters.

Copper edging on outside of gutter.


Posted By David

Today they finished installing the ridge cap, including all the soldering, which is a milestone.  Well, almost . . . .  My contractor found that they were short one piece of ridge roll.  He noticed the problem on Friday; today is Saturday and the mill won't make the missing piece until Monday at the earliest.  But now the roof looks finished from the south and west, the sides that are most visible from the street.  They also did a bunch of cleanup now that they had room in the dumpster, so the area around my driveway looks better.  The copper edging on the gutters remains to be done.

My contractor finally got me the photos they took on the roof, so I added some here.  This is a complicated roof.  The chimney emerges just to the east of the main ridgeline.  In this photo you can see the intersection of the ridge rolls and the chimney flashing.

Chimney flashing.
 

Looking down on the west reverse gable--nice view of the slate as well as the copper:

West gable from above.

The northwest corner.  Notice the the Yankee gutter at the center right.  At the bottom you can see the cleat into which the ridge roll is fitted.  Using cleats, rather than fastening the ridge caps directly to the roof, is the preferable method.


Ridge roll closeup.


Posted By David

They obtained some appropriate fasteners on Wednesday afternoon, so they could start installing the ridge roll today.  (The problem was that in a few spots near the hips, the screws were not biting firmly enough.)  The crew did some work (cleats? more gutters?) early and then before noon began with the ridge roll.  I went out about 2:00 to move my car because they needed to take the full dumpster and bring an empty one.  They had already installed additional cleats plus the roll on the SW corner and were working on the NW corner ridge; see pictures (zoom in for better view).  By the end of the day almost all the ridge roll was done.

The first ridge roll went on the SE.  Note also the cleats at the top of the gable that will hold the ridge roll.

First ridge roll on SW.
 

Here they are on the northwest corner.

Ridge roll installation NW corner.
In the two photos above, notice that the slate does not come all the way down to the gutter; the black EPDM membrane is visible even from the ground.  I recalled that in the old roof the slate came down one more course.  I asked my contractor about this.  He said that's how they did it back in the day, but that now it's considered better to keep the slate a little further up to avoid any problems when snow or ice sits in the gutter.  (The EPDM goes up 3' or so under the slate.)  I prefer the original look, but avoiding water problems is certainly a Good Thing.  My contractor also said that it would not be difficult to line the gutters with copper if I really don't like seeing the EPDM.  (Let's not get carried away here . . . )


Posted By David

My contractor told me that they would work on the Yankee gutters today (again -- this seems to be a never-ending job).  He also told me that they were waiting for special fasteners to come before they could install the ridge roll.  The copper nails they were planning to use turned out not to hold the roll as they should.  No pictures again today, and of course no work on July 4.


Google

Archives
 
Visitors

You have 19971 hits.